Limewash Your Fireplace for an Instant Update
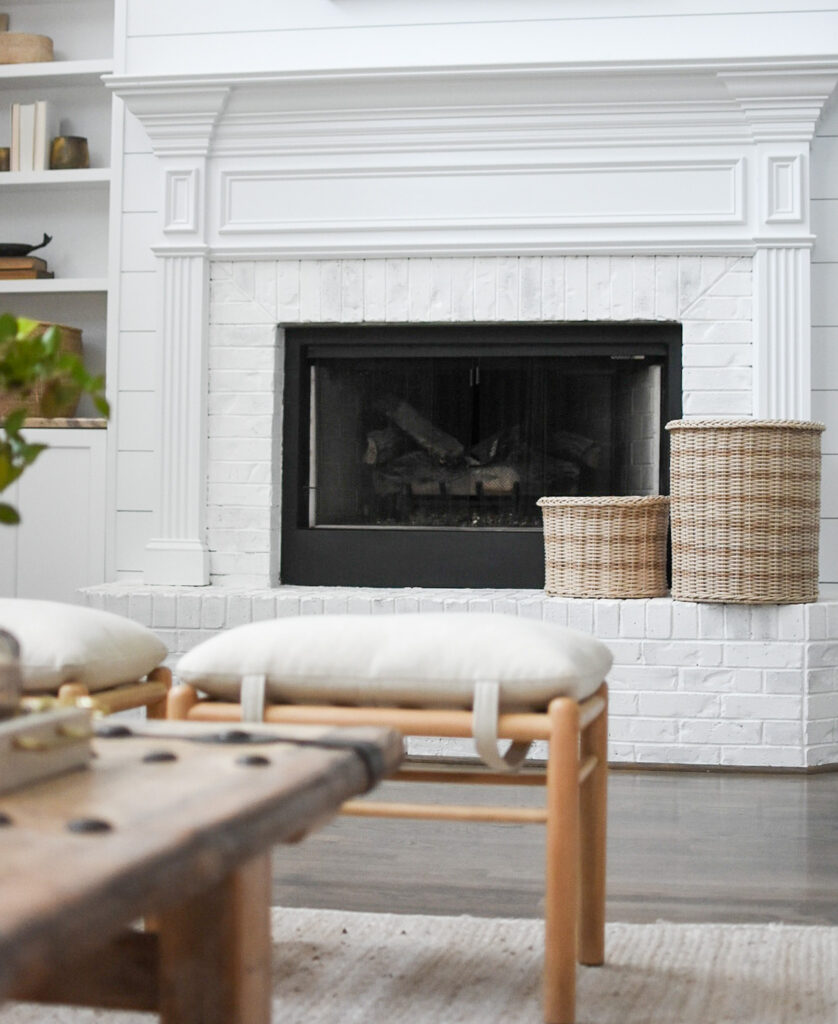
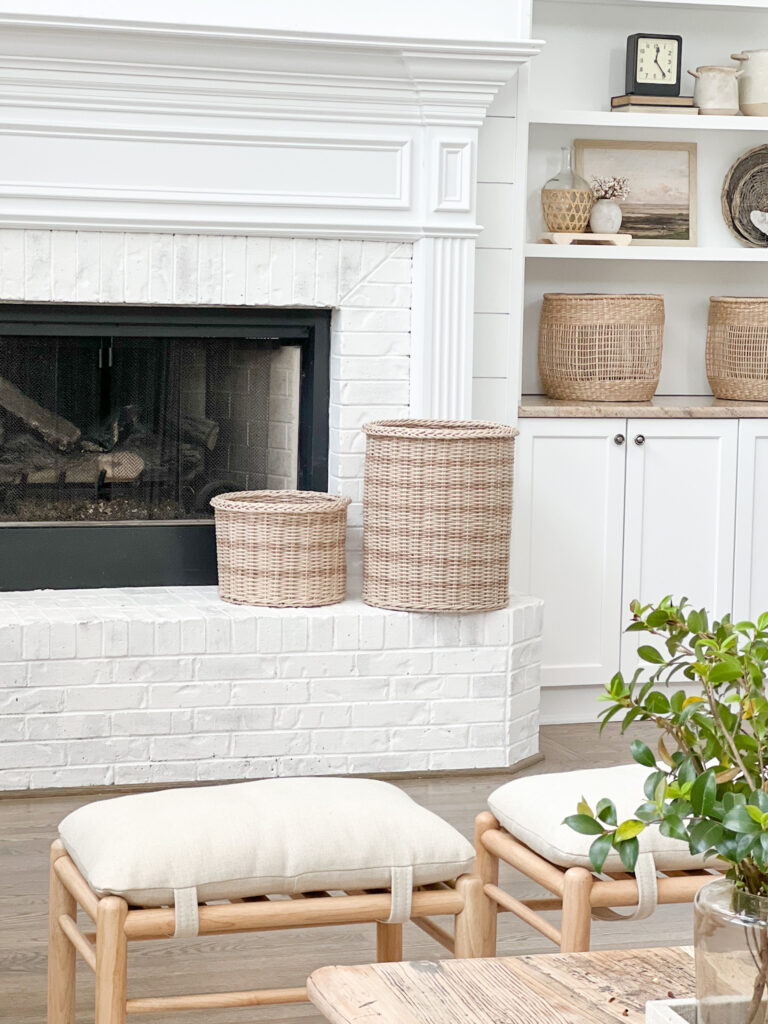
Is your fireplace one that you inherited? Does it seem to clash with your decor style? This was the case for us until we finally decided to give it a refresh. One of the easiest and most impactful DIYs we’ve done in our home: limewashing the fireplace! It instantly updated our living room, bringing a breath of freshness into an area we spend so much time in. Today, I’m walking you through all the how-tos so you can also limewash your fireplace.
What Is Limewash?
Limewash has been used for many, many centuries in homes and commercial buildings. It dates back to Roman times as a popular way to lighten stone. Limewash is made from limestone that’s been crushed or slaked and mixed with water to make lime putty. The putty is then thinned even more with water and colored with natural pigments. It has almost a chalky finish and is durable and long-lasting. When you want a fresh, brighter look for your fireplace, limewash is 100% the way to go!
What Style of Home Does Limewash Work For?
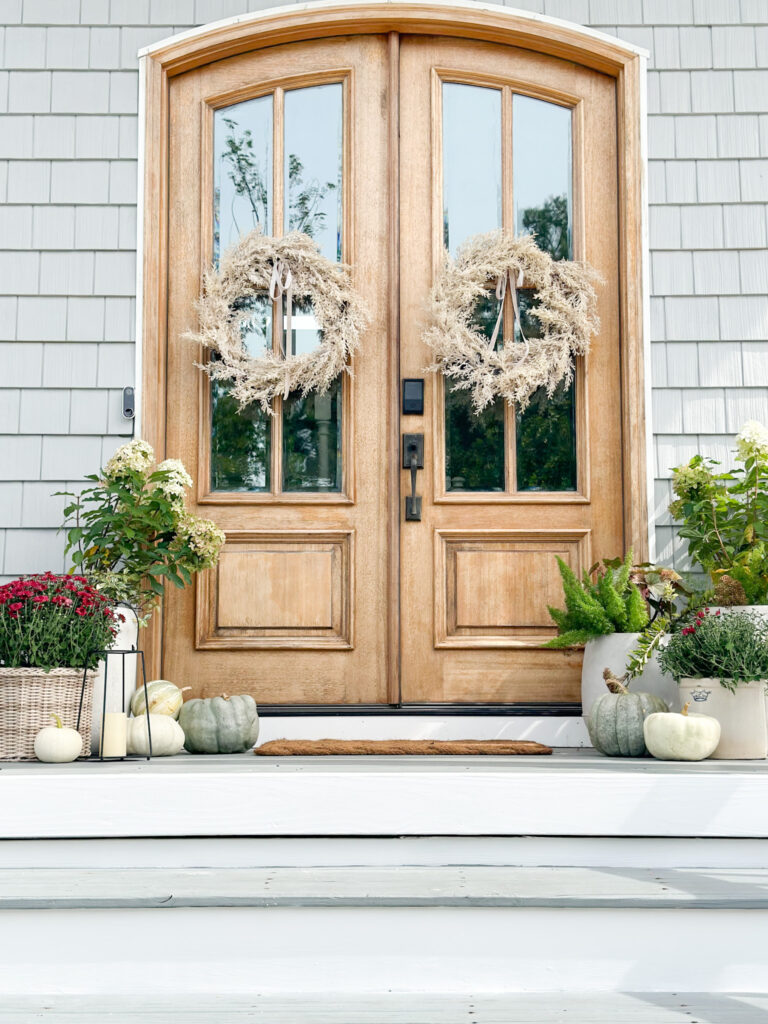
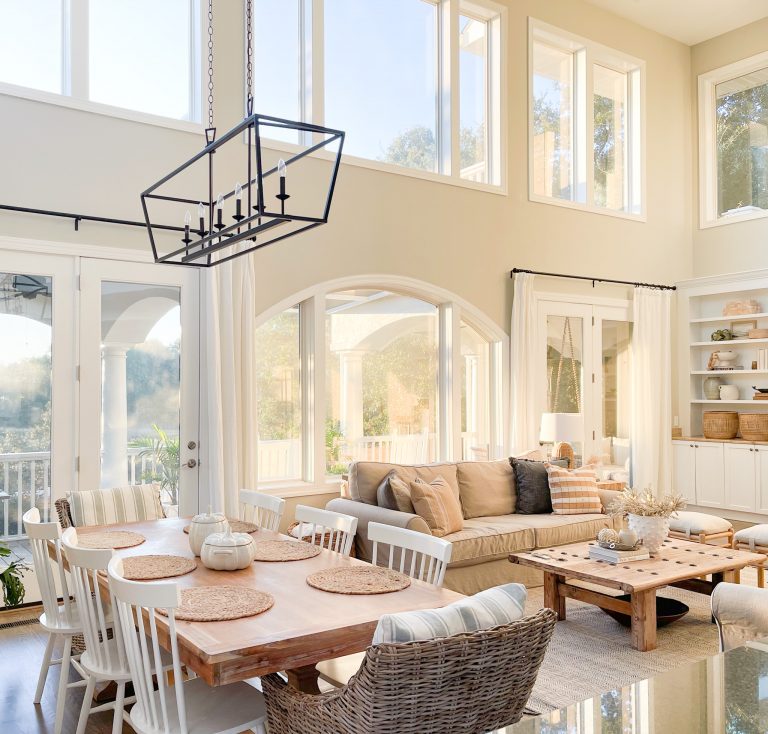
Limewash is such a versatile option if you love neutral home decor. It works well with numeorus home styles – including but not limited to farmhouse, coastal, classic, and modern. Since our home style is coastal, and limewash helped to make our red brick fireplace feel more in line with the rest of the decor.

What Products to Use When You Limewash Your Fireplace
So, what’s next – how do you decide on a product and color? Luckily, I have an excellent recommendation for you! After much research, the product we used was Romabio Classico Limewash, and it was perfect for the job. It’s made in Italy with high-quality ingredients, which is important when choosing a permanent product for your home. During the process, you have 5 days until it fully sets to remove it should you change your mind. This gave me so much peace of mind with this project. Additionally, we chose this product because it came highly recommended by others who had previously used it.
If your home has cool-toned or crisp white trim, the Romabio Avorio White or Bianco White options would be great for you. We chose Bianco White, as I wanted a crisp white. Bianco is the brightest in the Romabio line. It gives the pop that works well with our coastal style home.
If your home has warmer tones, Risposo Beige is a great option. Or, if you’re home has a mix of tones, Avorio White is a great option. It’s the most neutral color and really works for any home. Ultimately, the best way to make a decision is to narrow it down to a couple that first caught your eye and test a small, incospicuous area.
Materials and How-To
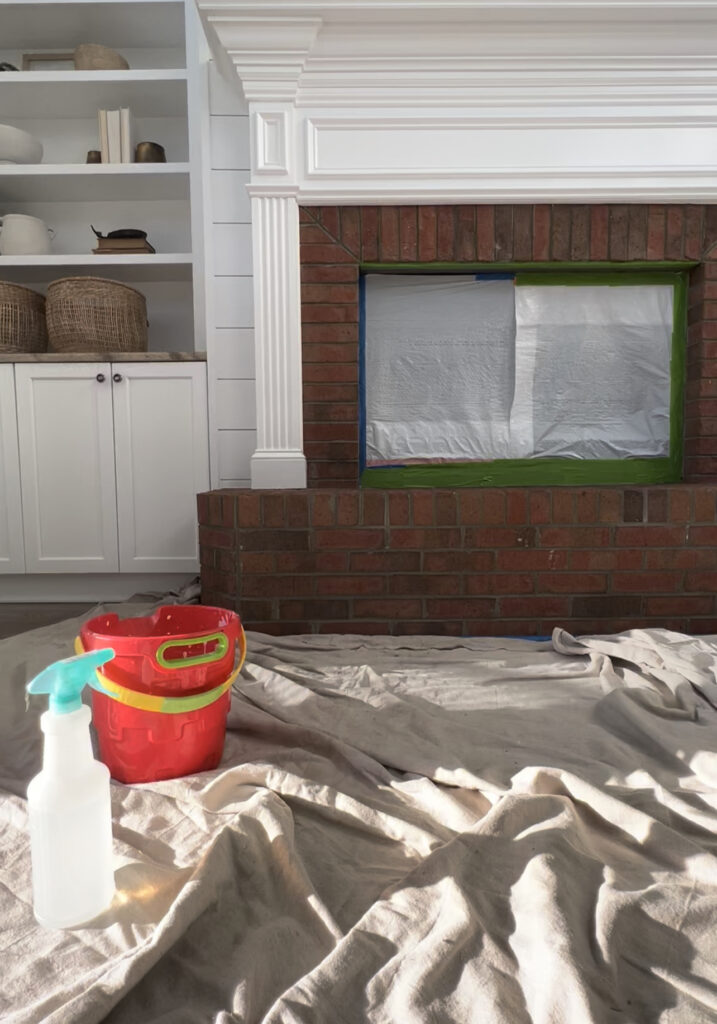
To get started, make sure you have this list of supplies:
Limewash (took about 1 quart for our raised hearth fireplace)
Masonry Brush
Spray bottle
Old towel
Drop cloth to protect floor
Bucket
Mixing stick

To begin:
- Dilute the Limewash with water by 50%-70%. This will take out all the thickness that causes chunks to be left behind.
- Wet the area with spray bottle.
- Apply diluted limewash with masonry brush
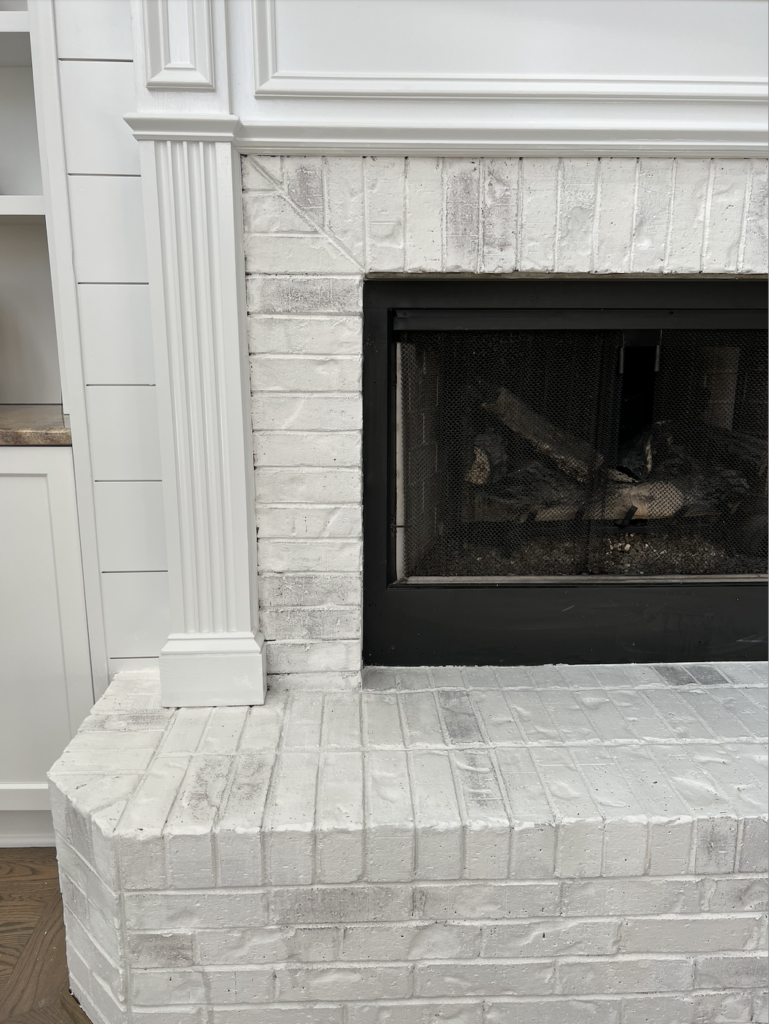
- Once it dries, start to customize by spraying and wiping off desired amount of limewash with a rag
This is where the fun starts! Don’t worry about messing up as you start to spray off some of the limewash, you can always reapply. Remember – you have 5 days of the limewash being removable before it fully sets. So, have fun with the customization part.
This process took me only a few hours from start to finish. From the moment I laid eyes on the limewash on our brick, I knew this was going to be a look that worked well in our home. There were many who told me I shouldn’t mess with our brick, but my gut told me I would like this more, and I’m so happy I followed my gut!
So, now that you’ve got the info and how-tos, I’d love to see how you limewash your fireplace! Tag me on Instagram or share in the comments below.